G Wagon Electric Step Instructions
Remove the 2 torx screws holding the rear cup holder down.
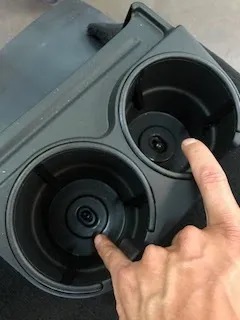
Using a flat head twist the two mounting screws below the cup holder assembly. Move both front seats forward to gain access to remove rear battery cover.
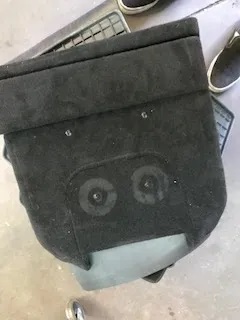
This will expose the battery and tire tool kit:

Using a 1″ hole saw or larger (max 1.5″) drill a hole in the compartment next to the battery to run the step motor wires. lift back the carpet before drilling. Then replace the carpet and use a razor to cut slits in the carpet to avoid metal shavings in the carpet.
Next you’re going to route the wire labeled “ Overhead center interior light” with the posi-lock connector over to the center overhead interior light. You can route under the carpet and out by the factory harness.
remove the grab handle and black bracket on the drivers side roof

Remove the door molding seal at the top. does not need to be completely removed
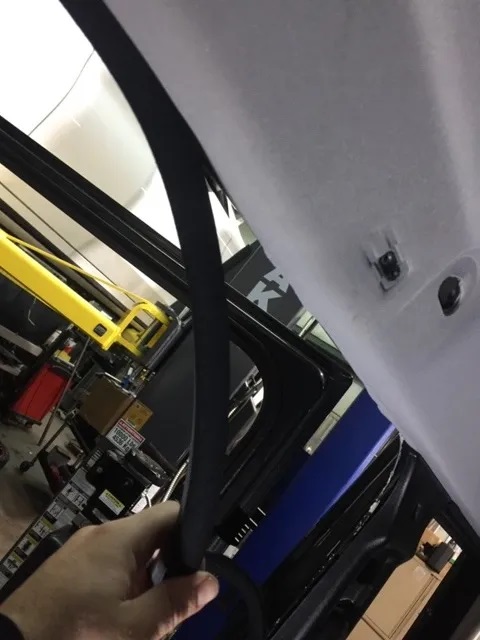
You can route the wire up the drivers C pillar trim. Using a metal wire as a hook tool (clothes hanger) to feed the wire to the center easily.


You can route the wire up the drivers C pillar trim. Using a metal wire as a hook tool (clothes hanger) to feed the wire to the center easily.
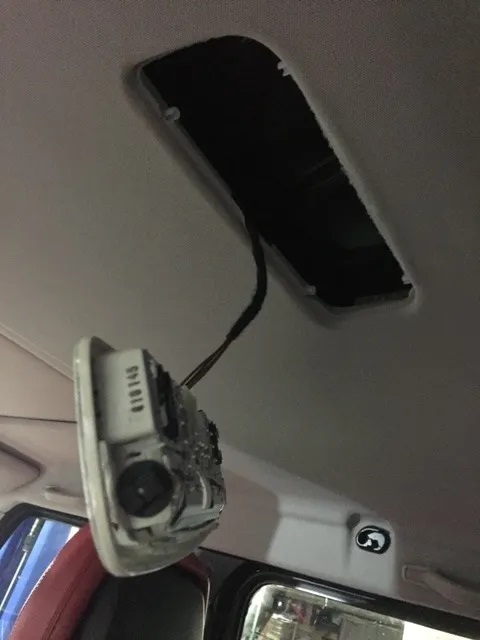
Pop the light out using a flat head or pick tool from the front of the lens. Then pull off the connector on the light.
- Tap the wire using the supplied Posi lock to the black wire with grey tracer to the wire you routed. No reassembling everything.


– Using the posi-tap slip the grey part of the crimp connector over the wire on the back of the light. Twist the red connector clockwise onto the gray connector piercing the wire properly. This will give the relay power for step operation when the door is open.
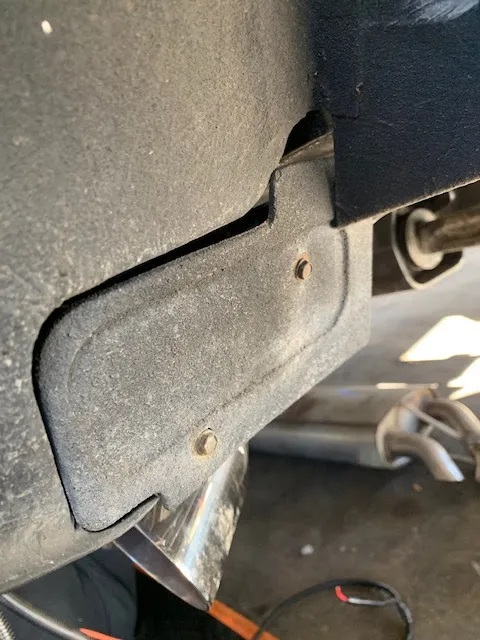
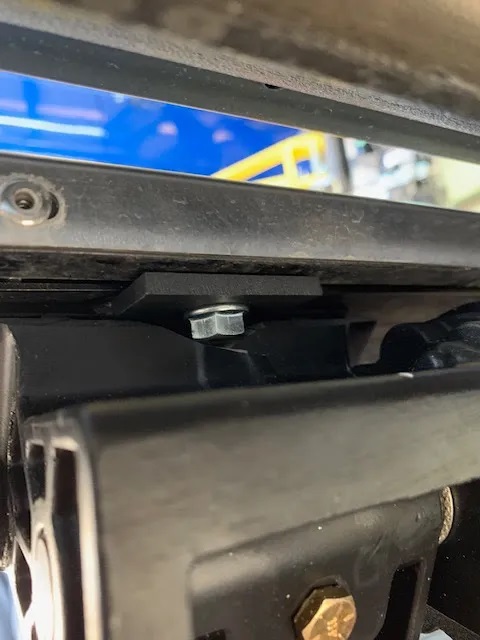
Next, you will mount the step brackets. There are two ways to install the brackets on the OEM running boards. One way will require removing the end caps on the back side and sliding the Long carriage bolt goes on the bottom and the short carriage bolt goes on the top. On other models you will need to remove one fender flare to access these slots to install the carriage bolts.
You will need to unbolt two of the OEM “L” brackets to get the carriage bolts to slide past. there is 3 on each sides on the W463 chassis.
If you want to shortcut the install you can use a pair of pliers and bend ( out / back ) the channel just enough to allow room to slip the carriage bolt in. This will not hurt the structural integrity.
( Skip below step if you are not removing the entire step bracket to slip in the carriage bolts )
Removing these screws will gain access to the steps to slide carriage bolts thru. You have to unbolt the 2 rearward steps at the body and the running board to slide the carriage bolts all the way down.

If you want a quicker way that requires minor bending of the factory step. You can use pliers to bend the channel upwards just enough to slip the carriage bolt in. This does not affect the structural integrity of the board.
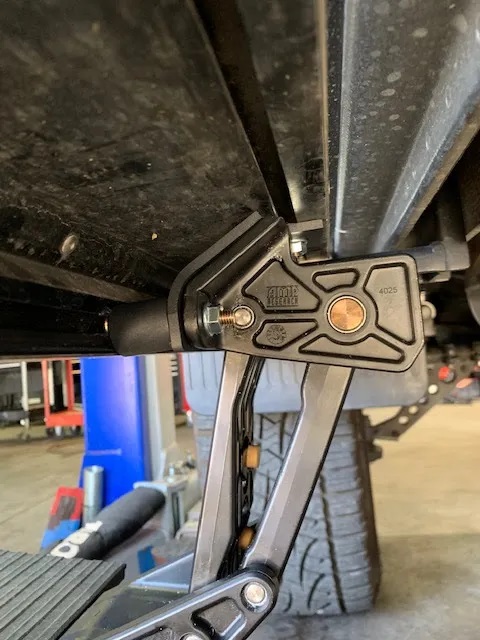
You can not install the step brackets on the running board brackets. You install the large step brackets with the motor attachment on the front.
You can install everything hand tight so that you have wiggle room to slide everything back and forth until its set in place.
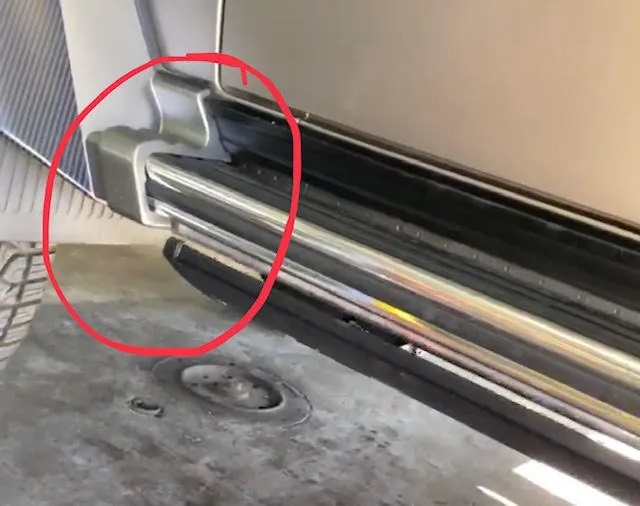
Make sure the end of the electric running board at the front does not extend past the fender flare where it goes over the running board. This will make the running board sit uneven when in the closed position.
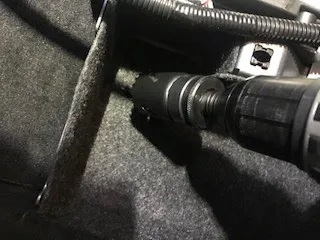
Now run the power wires over the top of the exhaust shield and zip tie them in place. Plug the motor in. The longer of the two harnesses goes to the passenger side. You may now wire crimp the LED lights that will be mounted to the bottom of the OEM running boards now.